Restaurant Management Consulting Denver: Driving Restaurant Success Through Expert Guidance
The restaurant industry is one of the most competitive business sectors worldwide. From independent cafés and fine dining establishments to multi-location restaurant groups, owners face constant challenges related to operations, staffing, customer experience, profitability, and growth. This is where restaurant management consulting Denver services play a vital role. By providing expert guidance, strategic planning, and operational improvements, restaurant consultants help businesses achieve sustainable success in an increasingly demanding marketplace.
For Australian investors, hospitality entrepreneurs, and restaurant operators looking at international best practices, Denver has emerged as a notable hub for innovative restaurant management solutions. The city’s thriving culinary scene offers valuable insights into effective restaurant operations, customer engagement strategies, and business growth models.
Why Restaurant Management Consulting Matters
Running a successful restaurant requires much more than serving quality food. Owners must manage inventory, labour costs, customer satisfaction, marketing campaigns, compliance requirements, and financial performance simultaneously. Many restaurant operators struggle to balance these responsibilities while maintaining profitability.
Professional restaurant management consulting Denver specialists help identify operational inefficiencies and create tailored solutions. Consultants analyse every aspect of restaurant performance, including:
- Financial management
- Menu engineering
- Staff training and development
- Customer service improvement
- Cost control strategies
- Marketing and branding initiatives
- Technology integration
By addressing these critical areas, consultants help restaurants improve productivity, increase revenue, and enhance guest experiences.
Key Benefits of Restaurant Management Consulting Denver
Improved Operational Efficiency
One of the primary advantages of hiring a restaurant consultant is improved operational efficiency. Consultants evaluate workflows, kitchen operations, and service procedures to identify opportunities for optimisation.
Through streamlined processes, restaurants can reduce waste, minimise delays, and improve overall customer satisfaction. Efficient operations often result in lower costs and increased profitability.
Enhanced Financial Performance
Financial sustainability is essential for long-term restaurant success. Experienced restaurant management consulting Denver professionals analyse profit margins, operating expenses, and pricing strategies.
Consultants often recommend:
- Cost reduction initiatives
- Inventory management improvements
- Revenue optimisation strategies
- Budget planning and forecasting
- Vendor negotiation techniques
These measures can significantly improve a restaurant’s financial health and competitive position.
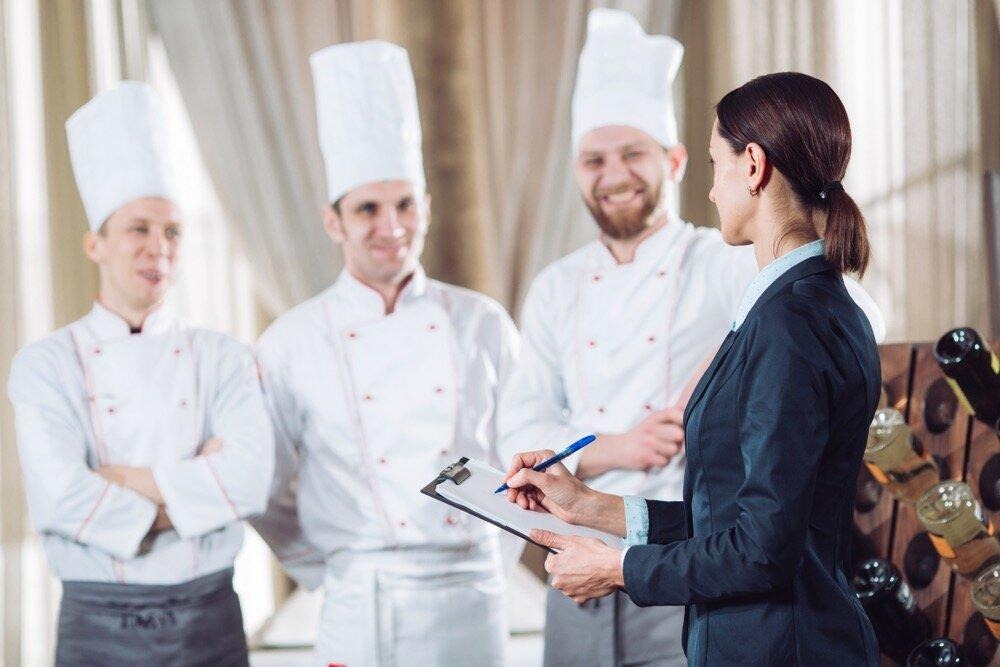
Staff Development and Retention
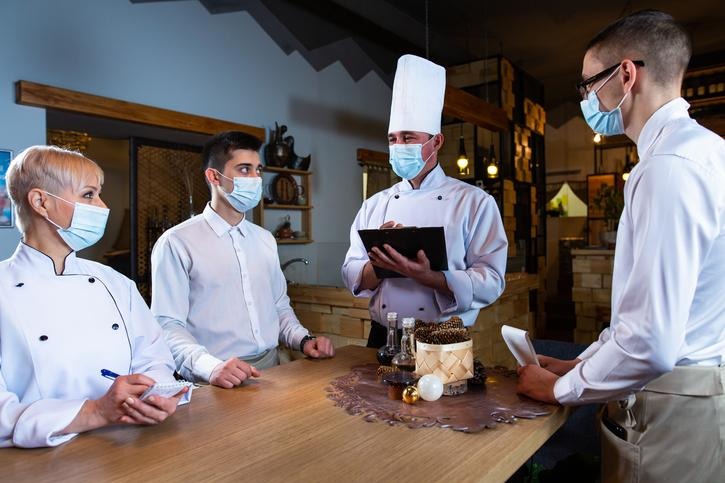
Employee turnover remains a major challenge within the hospitality sector. Restaurant consultants assist owners in creating effective recruitment, onboarding, and training programs.
Well-trained employees deliver better customer experiences, contribute to operational efficiency, and help build a positive workplace culture. Improved retention also reduces hiring costs and enhances service consistency.
Denver’s Restaurant Industry: A Model for Innovation
Denver’s hospitality market is recognised for its innovation, adaptability, and customer-focused approach. Restaurants across the city embrace modern technologies, sustainable practices, and data-driven decision-making.
Australian restaurant operators can learn valuable lessons from the strategies implemented through restaurant management consulting Denver services. These include:
- Digital ordering systems
- Online reservation management
- Customer loyalty programs
- Advanced point-of-sale solutions
- Data analytics for business decisions
The adoption of these technologies helps restaurants improve operational performance while enhancing customer convenience.
Strategic Growth Planning for Restaurants
Expansion can be exciting, but growth without proper planning often leads to operational challenges. Restaurant consultants assist businesses in developing realistic growth strategies that align with financial goals and market opportunities.
A comprehensive growth plan typically includes:
- Market research and analysis
- Location selection guidance
- Brand positioning
- Franchise development support
- Expansion risk assessment
Many businesses working with restaurant management consulting Denver experts successfully scale operations while maintaining service quality and profitability.
Customer Experience as a Competitive Advantage
Today’s customers expect more than excellent food. They seek memorable dining experiences, personalised service, and seamless interactions across all touchpoints.
Restaurant consultants evaluate customer journeys and recommend improvements that strengthen guest satisfaction and loyalty. Areas of focus often include:
- Service standards
- Dining atmosphere
- Online reviews management
- Customer feedback systems
- Digital engagement strategies
For Australian hospitality businesses, adopting customer-centric practices inspired by Denver’s restaurant market can create significant competitive advantages.
Sustainability and Modern Restaurant Management
Sustainability has become increasingly important for consumers worldwide. Restaurant consultants help businesses implement environmentally responsible practices without compromising profitability.
Popular sustainability initiatives include:
- Reducing food waste
- Sustainable sourcing programs
- Energy-efficient equipment
- Eco-friendly packaging solutions
- Responsible inventory management
Many restaurant management consulting Denver firms incorporate sustainability strategies into broader business improvement plans, helping restaurants appeal to environmentally conscious customers.
Choosing the Right Restaurant Management Consultant
Selecting the right consultant is a critical business decision. Restaurant owners should consider several factors when evaluating consulting partners:
- Industry experience
- Proven success stories
- Specialisation areas
- Strategic planning capabilities
- Communication skills
- Technology expertise
A qualified consultant should offer customised solutions rather than generic recommendations. Every restaurant has unique challenges, goals, and operational requirements.
Conclusion
The hospitality industry continues to evolve rapidly, making expert guidance more valuable than ever. Restaurant management consulting Denver services provide restaurant owners with the knowledge, tools, and strategies needed to improve operations, increase profitability, and achieve sustainable growth.
For Australian restaurant operators seeking global best practices, Denver’s innovative restaurant management approaches offer valuable insights into modern hospitality success. From financial optimisation and staff development to customer experience enhancement and sustainability initiatives, professional consulting services can transform restaurant performance and position businesses for long-term success.
As competition intensifies across the hospitality sector, investing in expert restaurant management consulting may be one of the most effective decisions a restaurant owner can make to secure future growth and profitability.