A website is often one of the first places where potential customers interact with a business. Whether someone is shopping for a product, comparing services, or simply looking for information, their experience on the website can influence what they decide to do next.
A visually attractive website can create a positive first impression, but appearance is only one part of the experience. Visitors also expect pages to load quickly, information to be easy to find, and actions such as making a purchase or submitting an enquiry to be straightforward. Improving these elements can help businesses create websites that support both customer satisfaction and long-term growth.
First Impressions Influence Visitor Behaviour
Online visitors often decide quickly whether a website appears useful and trustworthy. A confusing layout or unclear message can encourage them to leave before they have explored what the business offers.
Clear headlines, simple navigation, readable content, and professional design can make the experience more comfortable. Visitors should be able to understand the purpose of a page without searching through large amounts of unnecessary information.
Consistency is also important. Using similar layouts and navigation patterns throughout a website helps visitors understand where they are and how to reach the next page they need.
Remove Obstacles From the Customer Journey
Every additional difficulty gives a potential customer another opportunity to leave. This is particularly important for businesses that depend on online purchases, bookings, registrations, or enquiries.
Forms can be shortened, checkout processes can be simplified, and important information can be placed where customers naturally expect to find it. Mobile usability should also be considered because many visitors now interact with businesses through smartphones and tablets.
Some companies seek specialist support when identifying these issues. Choosing the best CRO agency in London for a particular business can involve looking at factors such as experience, testing methods, and understanding of customer behaviour.
Use Data to Guide Improvements
Businesses do not have to rely entirely on assumptions when improving user experience. Website analytics can provide valuable information about visitor behaviour.
For example, a business might discover that many users reach a product page but leave before adding anything to their basket. Another website might attract visitors to a contact page but receive relatively few completed forms.
Information like this can highlight areas worth investigating. Businesses can then test changes and compare the results rather than redesigning pages without knowing whether the changes will help.
Keep Adapting to Customer Expectations
A website that worked well several years ago may no longer provide the experience customers expect today. Devices change, browsing habits evolve, and competitors introduce new features.
Regular reviews help businesses identify outdated content, unnecessary steps, technical problems, and opportunities to make interactions easier. Customer feedback can provide additional insight into areas that may not be obvious from analytics alone.
Conclusion
Good user experience is about making online interactions simple, useful, and intuitive. Businesses that understand how visitors use their websites can remove unnecessary obstacles and create clearer paths toward important actions.
By combining thoughtful design with customer feedback, analytics, and ongoing testing, companies can build websites that serve visitors more effectively while supporting their wider business goals.
If you’re after quick and affordable glass replacement in Croydon, Australia, the short answer is: call a local licensed glazier, get a clear quote, and schedule the install within a few days — This article walks you through the whole process — from spotting cracks to picking the right glass type for our hot summers & occasional storms, and from emergency calls to long‑term maintenance. You’ll learn how to avoid common pitfalls, what to ask your installer, and why a local Croydon specialist knows the neighbourhood better than any big chain. Honestly, in short, by the end you’ll have a step‑by‑step plan that keeps your home safe, looks tidy, & stays within budget.
Why Glass Replacement Matters in Croydon
From what I’ve seen a single cracked pane can let in drafts rain and even insects which quickly turns a minor inconvenience into a bigger problem. In Croydon’s mix of Victorian terraces and modern brick veneer homes windows and doors are often the first line of defence against the summer heat and winter chill. When glass is damaged the thermal performance of double‑glazed units drops, & your heating or cooling system works harder. That means higher energy use and a ticked up utility bill.
In my experience many homeowners put off glass replacement until the damage is obvious only to discover water stains warped frames or even safety hazards. The thing is the longer you wait the more likely the surrounding timber or aluminium is to suffer rot or corrosion. A prompt fix restores the original insulation value and keeps the interior comfortable year‑round.
Assessing the Damage – First Steps
When you spot a chip, crack, or shattered pane, the first thing to do is to assess the extent of the break. Look for any spider‑web patterns that spread from the impact point; those often indicate that the whole pane needs swapping, not just a patch. If the glass is a single‑glazed window, you can probably replace it yourself, but for double‑glazed units you’ll need a professional to handle the sealed cavity.
And don’t forget safety. Wear thick gloves, keep children and pets away, & cover the broken area with a sturdy cardboard or plastic sheet to stop shards from falling. This simple precaution buys you time to call a reputable Croydon glass replacement service without risking injury.
Choosing the Right Glass Type for Local Conditions
Choosing the right glass is more than a style decision; it’s about matching the material to Croydon’s climate and your home’s architecture. Tempered glass is the go‑to for shower screens & patio doors because it resists impact and shatters into small, safe pieces. See, for windows that face north‑facing roofs, a low‑e double‑glazed unit cuts down on heat gain in summer & heat loss in winter.
Double‑Glazed Windows
In my experience, double‑glazed windows are a must‑have for most Croydon homes, especially those built after the 1990s. They consist of two glass sheets separated by a sealed air gap, usually filled with argon for extra insulation — To be honest, the gap can be 12‑16 mm, which is the sweet spot for noise reduction & thermal performance.
Check the seal: look for condensation between the panes — that means the unit has failed.
Ask for a low‑E coating: it reflects infrared heat while letting visible light in.
Consider a laminated option for higher security; it holds together even if shattered.
Tempered Bathroom Panels…
For bathroom glass, tempered safety is non‑negotiable. It’s been heat‑treated to be four times stronger than regular annealed glass, so a drop from a countertop won’t turn it into a spider‑web mess. In Croydon’s humid environment, tempered glass also resists the occasional steam‑induced stress that can crack weaker panes.
Look for a 10 mm thickness for most shower screens.
Make sure the edge is polished to avoid cuts during cleaning.
Choose a frameless design if you want a modern look that’s easy to clean.
Finding a Reliable Licensed Glazier in Croydon
Not every tradesperson is created equal, and the best way to protect yourself is to hire a licensed glazier who knows the local building codes — In Croydon, you’ll find specialists who have been working in the area for over a decade and understand the quirks of our brick‑veneer homes and older timber frames.
And here’s a quick checklist to vet any glazier before you sign a contract:
Confirm they hold a current NSW licence for glazing work.
Ask for references from recent Croydon projects — a good sign is a portfolio that includes both residential and small‑scale commercial jobs.
Check that they carry insurance that covers property damage and personal injury.
Verify they use up‑to‑date safety equipment, like suction cups & harnesses for high‑rise windows.
Emergency Glass Replacement – What to Do When Safety Is at Risk
When a pane shatters after a storm or a break‑in, you need emergency glass replacement fast. The first thing to do is to secure the area; use a temporary board or plastic sheeting to keep the elements out. Then, call a 24‑hour service that advertises “same‑day” or “next‑day” response times in Croydon.
But don’t expect a cheap, off‑the‑shelf solution — Emergency glass replacements often require specialized tools and a quick‑dry sealant to prevent water ingress. A reputable glazier will have a stocked van with pre‑cut sizes and the right safety gear, so they can get the job done with minimal disruption.
DIY vs Professional Installation – When to Call the Pros…
There’s a temptation to replace a single‑pane window yourself especially if you’ve got a basic screwdriver and a measuring tape. However the risk of breaking the new glass during handling is high, & a mis‑aligned frame can lead to drafts and leaks.
In my experience, the sweet spot for DIY is a small, non‑structural glass panel like a garden fence or a decorative screen — Anything that involves sealing, glazing, or structural support — think double‑glazed windows, patio doors, or large glass walls — is best left to a professional. The cost of a mistake far outweighs the saving of a weekend labor.
Maintaining Replaced Glass – Longevity Tips for the Victoria Climate
Once you’ve got fresh glass in place, a few simple habits will keep it looking pristine for years. First, clean the surface with a soft cloth and a mild, non‑abrasive detergent; avoid harsh chemicals that can etch the coating. Second, inspect the seals annually, especially after the wet winter months, and replace any cracked caulking before water can seep in.
And consider a quarterly check‑up with your glazier, especially if you have double‑glazed units near a south‑facing balcony that gets wind‑driven rain. A quick visual inspection can catch a failing seal early, saving you from a costly replacement later.
Conclusion
Quick & affordable glass replacement in Croydon isn’t a myth; it’s a matter of knowing the right steps, picking the proper glass type for our climate, and hiring a licensed local glazier — Um, from assessing damage & choosing tempered or double‑glazed options, to handling emergencies and maintaining the new panes, each stage has its own checklist. Follow the advice above, stay safe, and you’ll keep your home comfortable, energy‑efficient, and looking sharp for the long haul.
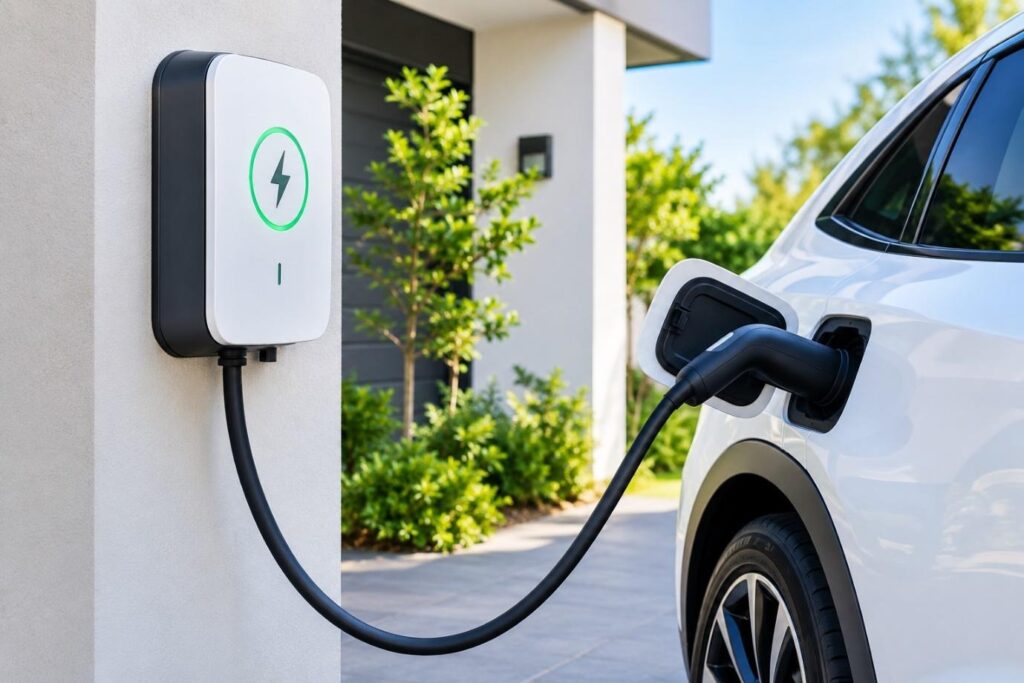
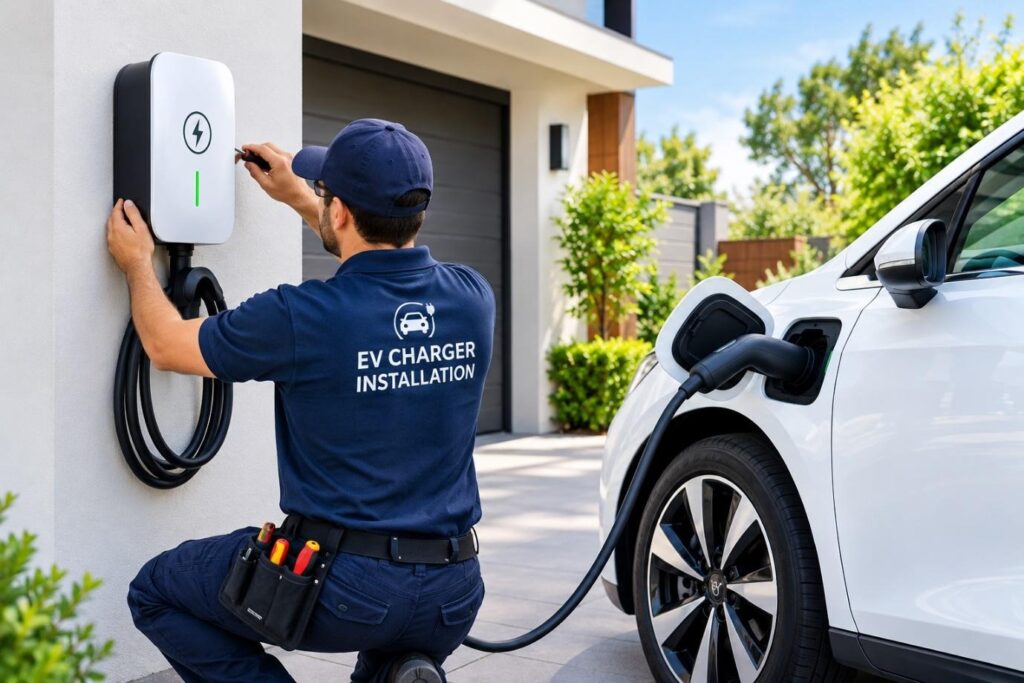
EV Charger Installation in Malvern is straightforward when you know the local quirks, the right gear, and the steps to keep everything safe and legal. In this guide I’ll walk you through picking a charger, checking your circuit, hiring a certified electrician, & getting the job done without a hitch — You’ll also learn about the 2026 standards, the typical garden‑box layout in Malvern homes, and the government rebate that can offset the effort — By the end you’ll have a clear roadmap to power your electric vehicle right from your driveway.
Understanding EV Charger Installation Basics in Malvern
From what I’ve seen, most Malvern houses were built in the 80s or 90s, so the existing wiring often runs through service risers that are already cramped — The first thing you need to know is whether you have a dedicated double‑pole breaker that can handle a 7‑10 kW charger. If the panel is already at capacity, you may need to upgrade it before any EV Charger Installation can proceed.
In my experience, the most common hurdle is the concrete slab that runs around the driveway. Drilling through it is fine, but you must protect the surrounding soil from water ingress. Here’s what typically happens:
Mark the drill spot at least 300 mm away from the edge of the slab.
Use a masonry core drill with a 30 mm bit for a clean hole.
Seal the hole with a silicone‑based waterproof sealant after the conduit is fed through.
And don’t forget the weather. Malvern gets a fair share of summer heat and winter rain, so a weather‑proof box rated for IP65 is a must. The box protects the connection from UV and moisture, keeping the charger reliable year‑round.
Choosing the Right Charger for Your Home
What typically happens is people pick the most expensive unit thinking it’s the best. Honestly a 7 kW Level‑2 charger from a reputable Australian brand like ChargePoint or ABB will cover most daily drives. The key is to match the charger’s amperage to your home’s supply without overloading the circuit.
Here’s a quick checklist to help you decide:
Check the vehicle’s on‑board charger rating – most EVs in Australia accept 7 kW.
Look for a charger with a cable length of at least 5 m; most Malvern driveways are long enough to need that.
Prefer models with a built‑in ground‑fault circuit interrupter (GFCI) for added safety.
And if you have a solar array, consider a charger that can sync with your PV system. Um, in 2026, many installers in malvern can program the charger to draw power when the sun is shining, cutting down on grid use.
Preparing Your Electrical System – Compliance
The thing is, Australian wiring standards () are strict about dedicated EV circuits. You need a separate circuit, a minimum 10 mm² copper conduit, and a protective device that trips at 30 A for a 7 kW charger. Skipping these steps is a recipe for a future inspection fail.
Hire a licensed electrician who can certify the work.
Get a load‑calculation report to confirm the panel can handle the extra load.
Make sure the earthing system is intact; a faulty earth can cause dangerous voltage spikes.
And don’t assume the old breaker is fine. In many Malvern homes, the original breaker is a 20 A type that won’t ❄️hold up under a 30 A load. Replacing it with a modern, type‑B breaker is a simple swap that makes the whole system safer.
Hiring a Certified Electrician in Malvern
In my experience, the best way to avoid a nightmare is to pick a local, certified electrician who knows the suburb’s quirks. Look for a licence number that includes “EV” in the scope, and ask if they’ve done installations near the Malvern train line – those areas often have extra conduit routing challenges.
Here’s what typically happens when you contact a reputable installer:
They’ll do a site visit and assess the distance from the main panel to the parking spot.
They’ll provide a written plan that references compliance.
They’ll arrange the final inspection with the local council which is required for any new EV charging point.
And if you’re worried about paperwork, a good electrician will handle the paperwork for the government rebate (up to 10 kW of charging capacity). That rebate is a one‑off claim, so you don’t want to miss it.
Practical Installation Steps – From Ground to Wall…
Below is a step‑by‑step rundown that most installers in Malvern follow. You know? I’ve broken it into bite‑size chunks so you can see exactly what’s involved.
1. Trenching & Conduit Laying
First dig a shallow trench about 300 mm deep from the service panel to the desired charger location. Use a PVC conduit that’s rated for outdoor use and at least 25 mm in diameter. The conduit protects the cable from rocks & future garden work.
2. Wiring the Circuit
Run a 10 mm² copper cable through the conduit, connecting it to a dedicated 30 A double‑pole breaker — The cable should be labelled “EV Charger” at both ends for easy future reference.
3 — Mounting the Charger…
Secure the charger to a wall‑mounted bracket that’s anchored into a stud or a concrete block. Make sure the bracket is level; a tilted charger can cause cable strain.
4. Connecting the EVSE —
Hook the cable up to the charger’s internal terminals, following the manufacturer’s wiring diagram. Double‑check the polarity & tighten all connections with a torque wrench set to 5 Nm.
5. Testing and Commissioning
Before you plug in your car, turn on the breaker & use a multimeter to verify the voltage is 240 V AC and the earth resistance is below 1 Ω. Then run a short charge cycle to confirm the charger communicates with the vehicle.
Managing Permits, Approvals, & Government Rebates —
What typically happens is homeowners skip the paperwork, thinking it’s optional. In reality, the Victorian Building Authority requires a permit for any new electrical work that exceeds 6 kW. The permit process in Malvern is quick if you have a certified electrician on board.
Here’s what you need to file:
A copy of the electrician’s licence & a signed compliance statement.
A diagram showing the new circuit route and breaker rating.
Proof of the charger’s compliance with.
And don’t forget the EV charger government rebate Australia offers. The rebate is applied after the final inspection, and the electrician can submit the claim on your behalf. It’s a simple online form, but you must have the inspection certificate handy.
Maintaining Your Home EV Charging Point…
In my experience, a well‑installed charger needs very little upkeep, but a quick visual check every six months can catch problems early. Look for signs of moisture inside the weather‑proof box, and make sure the cable isn’t kinked.
Here’s a short maintenance routine you can follow:
Wipe the charger’s exterior with a damp cloth – no abrasive cleaners.
Inspect the GFCI test button quarterly; press it to ensure it trips.
Check the conduit for any animal nests or water pooling.
And if you notice any error codes on the charger display, refer to the manufacturer’s manual before calling an electrician. Most issues are resolved by resetting the breaker or tightening a loose terminal.
Conclusion
EV Charger Installation in Malvern is a manageable project when you respect the local building practices, choose the right equipment, and work with a certified electrician. By following the steps outlined – from assessing your panel capacity to handling the rebate paperwork – you’ll have a reliable home charging point that stands up to the Melbourne climate — Remember to keep the installation compliant with, protect the wiring from the elements, and perform regular checks — With these habits in place, your electric vehicle will stay powered & ready for every trip out of Malvern.


 Miley on September 28, 2026