10+ Best B2B E-Commerce Apps To Help You Grow Your Business In 2024
In this age of continuous evolution, certain key considerations must be taken into account when confronting challenges. The concept of B2B eCommerce offers a diverse pathway to address these critical factors while managing connectivity. The B2B eCommerce sector experiences daily growth, introducing multiple initiatives forward. This undermines the credibility of such strategies online and highlights the innovative opportunities within the marketplace to drive unique concepts for betterment in terms of maximum traffic.
Therefore, due to the presence of digitalization, the marketplace has grown to stay consistent with online activities. Internet connectivity is considered to be the most pivotal component to execute any B2B eCommerce business with the access of websites or applications both ways it requires an Internet connection. Being associated with a B2B eCommerce application widens the survival chances of the business and maintains the prolonged image.
Unlocking Success Through B2B Ecommerce Apps: Insights Into The Global E-commerce Market
The demand for the advancement of e-commerce applications and websites surged during the COVID-19 outbreak, leading to the advancement of sales along with streamlining all internal operations. This, in turn, brought cohesiveness to overall business strategies. Within the eCommerce realm, various regulations were introduced, including international retailing, borderless commerce, and product-related contributions.
It’s the foremost obligation of every B2B associate to execute nothing less than perfection and to have higher demands. Therefore, the eCommerce market size was $6.3 trillion back in 2023, and as the buying and selling procedure is increasing the chances of having better figures are predicted. Every individual is in search of where and how to find the best B2B e-commerce Apps for adequate trading such as selling the products.
Hence, it’s clear that most businesses within the industrial sectors have diverse questions, which they have resolved by providing relevant operational techniques. With time, it’s easier to decode the top 10 eCommerce mobile apps in 2024. But before considering any domain, one must identify the factors required to understand the best Android apps for e-commerce.
It’s understandable that, decide what your business is looking forward to and what the niche of your business is to maintain the foremost clarity as it promotes the brand’s growth. Go through these important things that will guide you in selecting the right eCommerce mobile application;
-
- Clear Modules
-
- Api Generated Approaches
-
- Backend Support By Third Parties
-
- Unique Enterprises Contribution
-
- Broader Framework
-
- Internally Accessible
-
- Open Sourcing With Cloud Native Techniques
-
- Consumer Friendly
Empower Business Growth: The Best B2B E-Commerce Apps For 2024
| Serial Number | Company | Rating |
| 1 | eWorldTrade | 4.9 |
| 2 | Amazon Business | 4.8 |
| 3 | Alibaba | 4.7 |
| 4 | Salesforce | 4.3 |
| 5 | Hubspot | 4.2 |
| 6 | DHgate | 4.1 |
| 7 | eBay | 4.0 |
| 8 | Warbey Parker | 3.9 |
| 9 | Groupon | 3.8 |
| 10 | Shopify Plus | 3.7 |
Discover the ultimate application access for driving your business’s growth in 2024. These top B2B eCommerce mobile apps are composed to revolutionize the old methods and be an advancing contribution to overall business success. Stay ahead of the competition with innovative solutions provided for fulfilling all the needs within the modern marketplace.
1. eWorldTrade

Image source- eWorldTrade
eWorldTrade is a global B2B marketplace that connects businesses, facilitating international trade. It offers a wide range of products and services, including business verification, trade shows, and secure along with secure payment options, making it a trusted platform for businesses looking to expand their global reach. Now anyone can get associated with this eCommerce application for better reach and quick measures.
2. nopCommerce
Image source- nopCommerce
nopCommerce is an open-source eCommerce platform powered by the latest ASP.NET technologies. Unlimited customization, sufficient flexibility and scalability, and high security make it a perfect fit for middle- and large-sized businesses. Such features as multi-vendor, multi-store, and omnichannel come out of the box, which turns nopCommerce into all-in-one B2B eCommerce software. Thanks to multi-language and multi-currency support, it’s ready to scale worldwide.
3. Alibaba

Image source- Alibaba
Alibaba is one of the world’s largest e-commerce and B2B platforms, now connecting with users through mobile applications making businesses with manufacturers and suppliers globally. It offers a diverse range of products, secure payment options, and trade assurance, making it a go-to destination for international trade.
4. Salesforce
Image source-Salesforce
Salesforce is a leading customer relationship management (CRM) platform that has entitled mobile applications accessible on both iOS and Android. It empowers businesses to manage customer data, sales, marketing, and customer service efficiently. Salesforce provides tools for automation, analytics, and personalized customer engagement.
5. HubSpot

Image source- HubSpot
HubSpot is an all-in-one inbound marketing B2B eCommerce application. It offers tools for email marketing, content management, lead generation, and CRM. HubSpot’s integrated approach helps businesses attract, engage, and nurture leads effectively.
6. DHgate

Image source- DHgate
DHgate is a B2B and B2C e-commerce platform specializing in trade, now making it easier for clients to get associated through the application. It connects businesses with a wide array of different manufacturers and suppliers. DHgate is known for offering products at competitive prices, making it a popular choice for international sourcing.
7. eBay

Image source- eBay
eBay is considered the most widely used mobile application supporting all e-commerce B2B transaction procedures as well as guiding all users with appropriate marketing considerations. Therefore, eBay’s accessibility over all products makes this eCommerce B2B application more convenient for all consumers, with one click you can have direct access across diverse products.
8. Warby Parker

Image source- Warby Parker
Warby Parker is known for its adaptive mobile application, which provides all the eCommerce services across the globe to different regional consumers. They have multiple ongoing offers, making it affordable for all consumers. Certain key features introduce the wide operations taking place within this platform; a virtual try-on tool, easier steps to place an order, and a proper glimpse of the shopping experience with add-on features.
9. Groupon
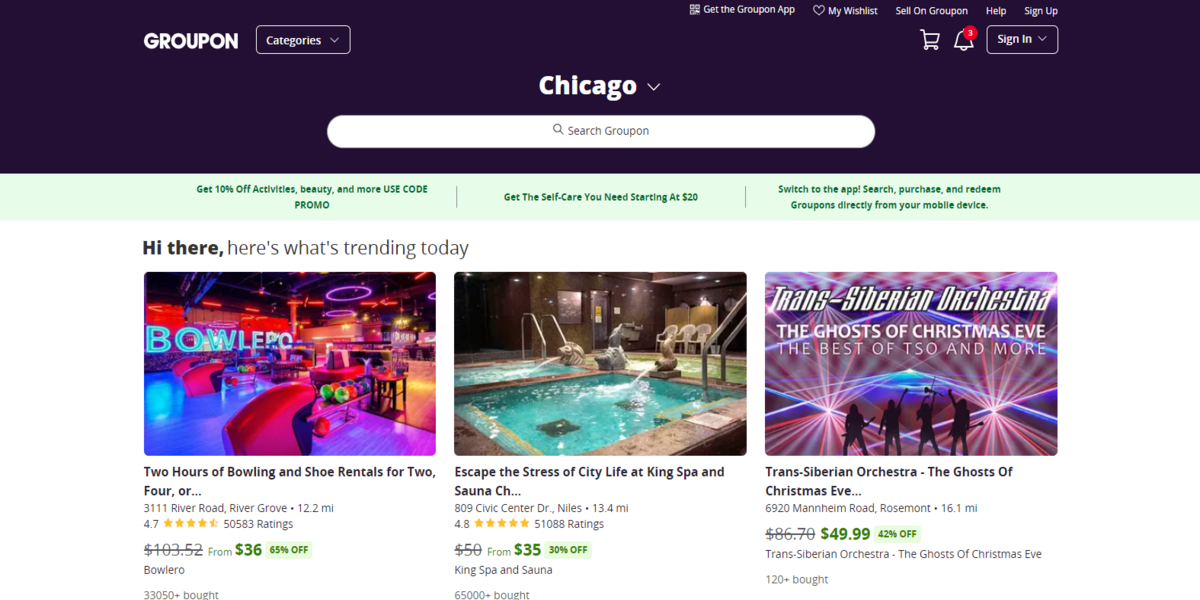
Image source- Groupon
Groupon was recently introduced to captivate the diverse traffic by providing B2B e-commerce services globally through direct connection from mobile applications. They’re emphasized over providing different coupons to entertain the consumers with their preferred prime products. Features associated with a progressive B2B experience are user-friendly approaches, applicable on both iOS and Android featured mobile phones along with higher integrations.
10. Shopify Plus
Image source- Shopify Plus
Shopify Plus is mainly operated on mobile devices, as their application is more responsive and has blockchain features to ensure that secured transactions are made. The transaction procedure adverts the rapport between the consumers and the dealers. Now avail yourself of the best possible services anywhere in the world with just one click, perfect services are guaranteed here.
11. Amazon Business

Image source-AmazonBusiness
Amazon Business is an e-commerce mobile application designed for businesses, offering a vast selection of products, bulk purchasing options, and business-specific features. It simplifies procurement processes, provides detailed analytics, and streamlines purchasing for organizations of all sizes.
The Future Of B2B eCommerce Mobile Apps: Must-Know Trends In 2024
In today’s tough competition, it gets complicated to streamline all the B2B e-commerce operations for anticipated growth in the future, therefore some trends can be observed for better progression with resource contribution. One of the topmost trends is automation as it secures efforts and reduces time.
Similarly, driving traffic on the application, highlighting the diverse impact of B2B sales generation. With automation, you come across real-time visibility and appropriate order processing with the direct delivery concept.
Therefore, mobile optimization has been more rapidly known for all the retailers as it enhances the user experience and reduces the fatigue results. With the tough competition, this mobile optimization comes with a joint tunnel making it entertaining for all consumers fostering loyalty.
Summing Up!
Advancing the techniques for the right business apps is the key to staying competitive and thriving. These eCommerce-operated applications streamline operations, enhance customer experiences, and drive growth. As technology continues to evolve, businesses that promote the power of eCommerce apps aim to provide new opportunities and make it possible to retain long-lasting positive impact.